

Workflow Settings
View our Pricing & Plans for a detailed list and comparison of features available in each plan.
Configure your workflow in the Workflow Settings modal. Use it to set general information, access to the workflow instances, customize dynamic workflow instance titles, set expiration timers, customize the workflow URL, and more.
In this article:
- Access workflow settings
- General tab
- Data access tab
- Identification tab
- Expiration timer tab
- Sharing tab
Access Workflow Settings
In the workflow builder, at the right side of the toolbar, click the Workflow Settings button (gear icon) to open the Workflow Settings modal. The settings are categorized in tabs.
General Tab
In the General tab, enter or modify the workflow name and workflow description.
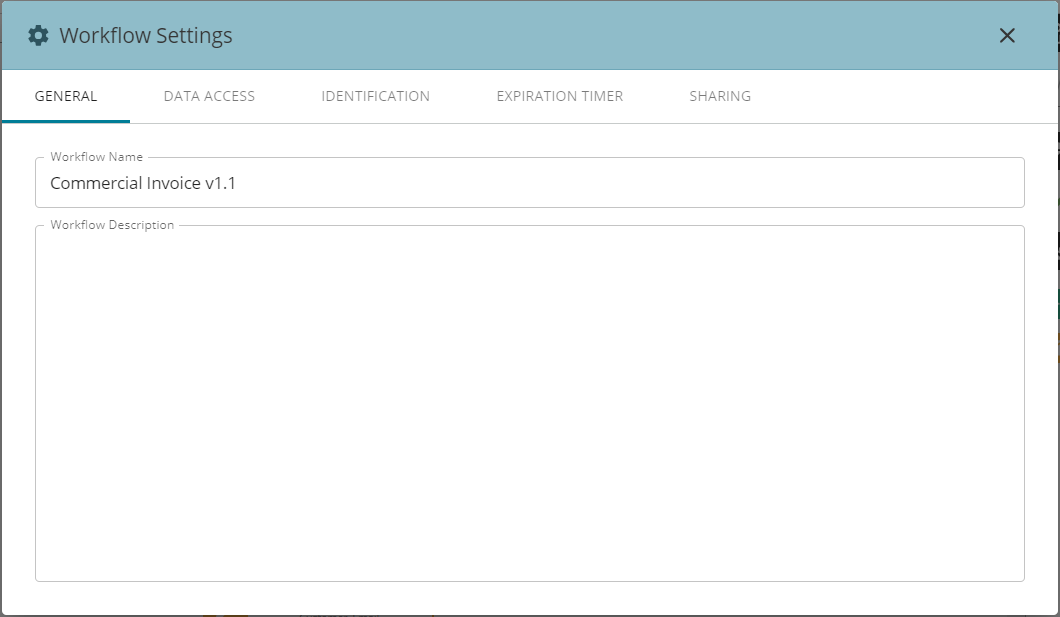
- Workflow Name
- The name of the workflow.
- Name workflows appropriately to indicate their purpose and help with identification.
- It will be visible at the upper-left corner of the workflow builder, where it can also be modified.
- Workflow Description
- Describe what the workflow does and how it works.
- This is also displayed in the Workflow section’s cards and lists.
Data Access Tab
In the Data Access tab, define viewer access permissions for the workflow instances, and retention periods for completed workflow instances and its data.
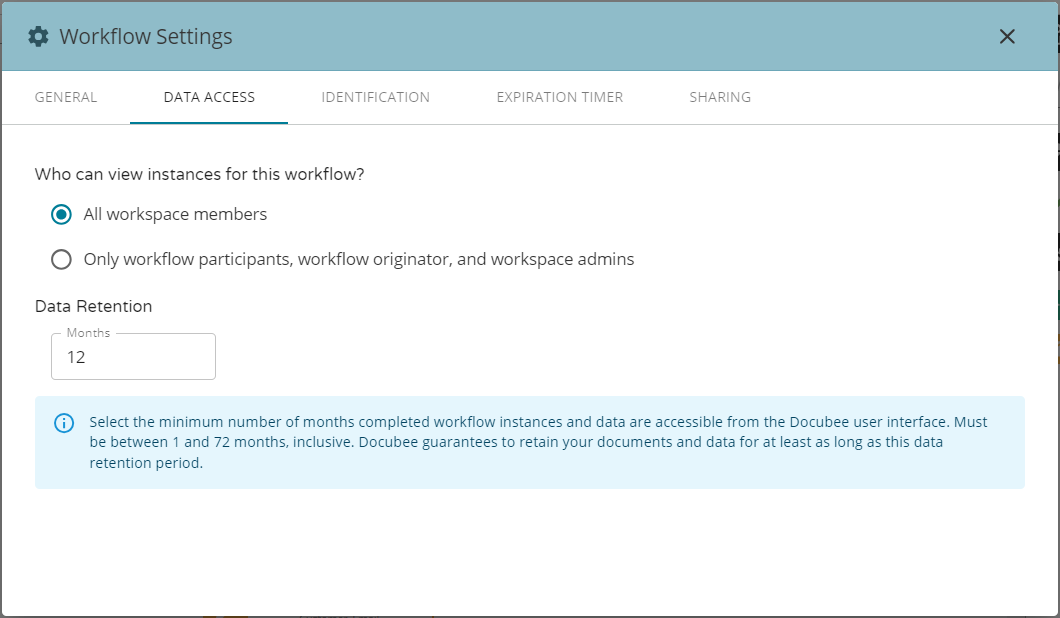
- Who can view instances of this workflow? Select one of the following:
- All workspace members.
- Only workflow participants, workflow originator, and workspace admins. See Overview of Organizations, Workspaces, and Members for more information on types of members and permissions.
Note: Click here for a breakdown of roles/permissions.
- Data Retention (in months)
- The minimum number of months that completed workflow instances and data are accessible from the Docubee user interface.
- Acceptable values lie within the range of 1 to 72 months inclusive.
- To set the number of months, either enter the value directly into the Months field, or click in the field and use the up/down arrow buttons to select the number.
Identification Tab
In the Identification tab, set the workflow instance title.
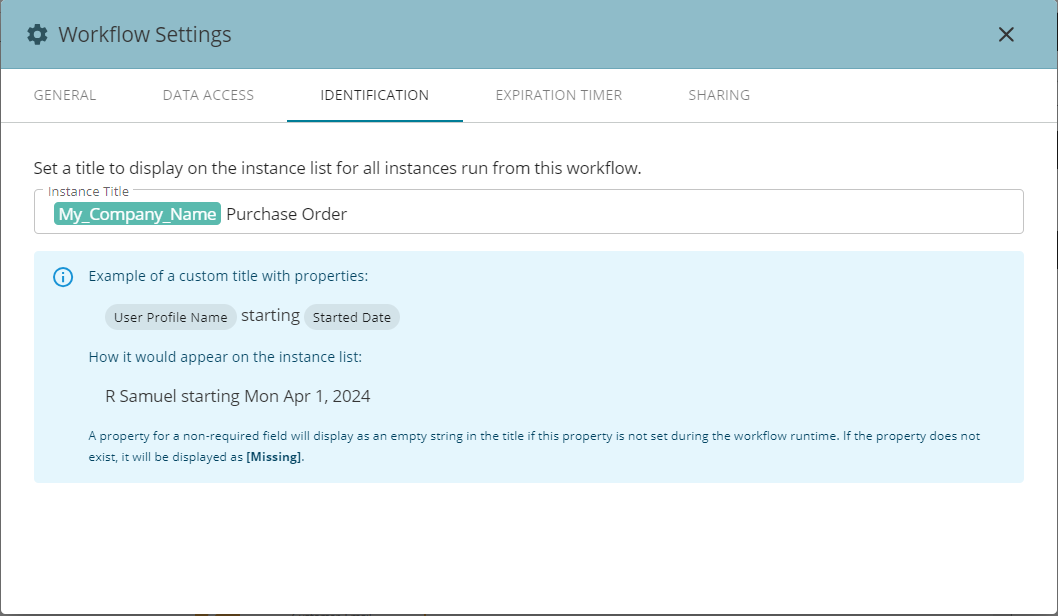
- Instance Title
- Each workflow instance title will be specific to the instance based on the property used in the Instance Title.
- A property for a non-required field will display as an empty string in the title if this property is not set during the workflow runtime.
- If the property does not exist, it will be displayed as [Missing].
- Click in the Instance Title field to see the dropdown list of property names in a workflow. The property names could be from your web forms. Select the ones to include in the instance title and phrase it to suit your specifications.
E.g., An instance title of “[Name] – [State]: Onboarding Documents” for John Doe living in Florida would be “John Doe – Florida: Onboarding Documents”.
Note: To insert more than one property, make sure to put a space after each property to activate the property name drop-down. - On the dashboard, you can also search by property value to locate workflow instances.
Expiration Timer Tab
In the Expiration Timer tab, specify how long (days, months, and years) a workflow can be incomplete before the workflow instance is terminated and moved to the Canceled tab of the workflow instance list (Workflows section). This is useful for avoiding abandoned workflows and keeping the In Progress tab of the workflow instance list (Workflows section) clean and controlled.

- Enable Instance Expiration
- Timer Duration: Years, Months, Days
- Enter the duration in the Years, Months, Days fields or adjust the value using the up-down/spin control buttons.
- You must publish the workflow for the expiration timer to take effect.
Sharing Tab
In the Sharing tab, set the workflow URL you will use for sharing the workflow. You can use the default workflow URL or create a customized one.
Click the URL (default or custom) to copy it and then paste it in an email to share with a participant.
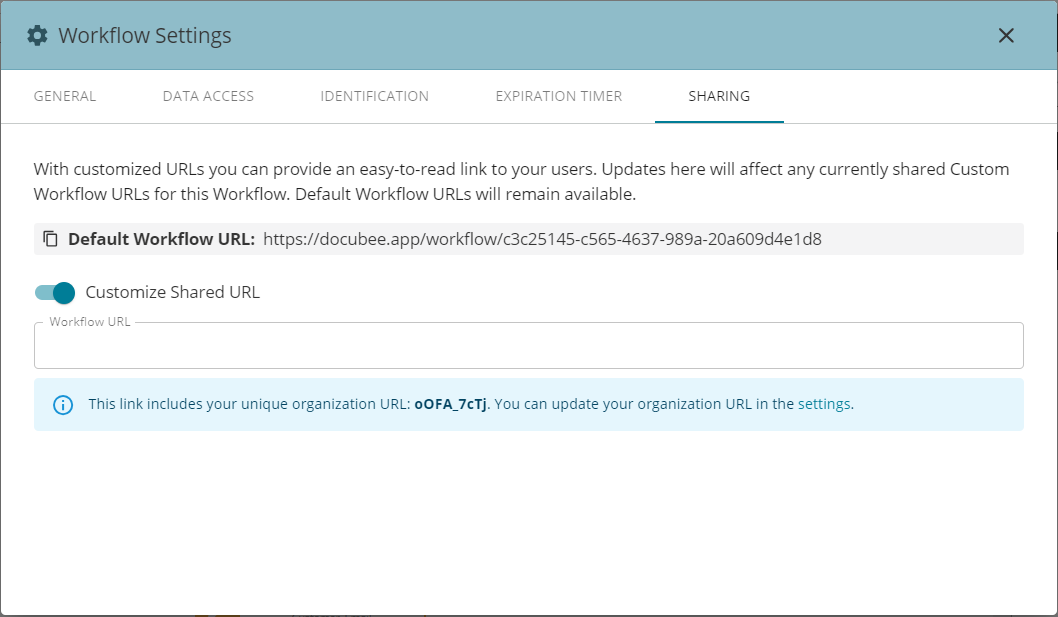
- Default Workflow URL
- The URL that Docubee assigns to a workflow.
- Customize Shared URL
- Turn this on and enter the custom URL in the Workflow URL field.
- If you modify an existing custom URL the old custom URL will no longer work.
Related Information
All About Workflows (Quick Reference)
Additional Resources
Need more help getting set up? Contact us for assistance from our customer support team.
